

Fixing bathroom grout properly involves identifying the damaged areas, removing failed grout, cleaning the joints thoroughly, applying the right replacement grout and allowing it to cure correctly. Missing any of these steps can lead to recurring cracks, mould growth and water finding its way behind the tiles.
If you’re researching grout repair Auckland solutions, understanding the repair process can help you decide whether the grout needs a simple clean, a localised repair or complete regrouting. Here’s how the process works from start to finish.
Step 1: Check Whether the Grout Needs Repair
Before removing any grout, take a close look at its condition.
One mistake people often make is assuming dark grout automatically needs replacing. In many bathrooms, years of soap residue, moisture and cleaning product build-up can make grout look worse than it actually is. A professional grout cleaning service may be enough to improve its appearance.
Repair is usually needed when you notice:
- Cracks in grout lines
- Missing grout
- Crumbling grout
- Loose tiles
- Mould that keeps returning
- Water escaping outside the shower area
If the grout is physically breaking down, cleaning alone is unlikely to solve the problem.
Step 2: Remove the Damaged Grout
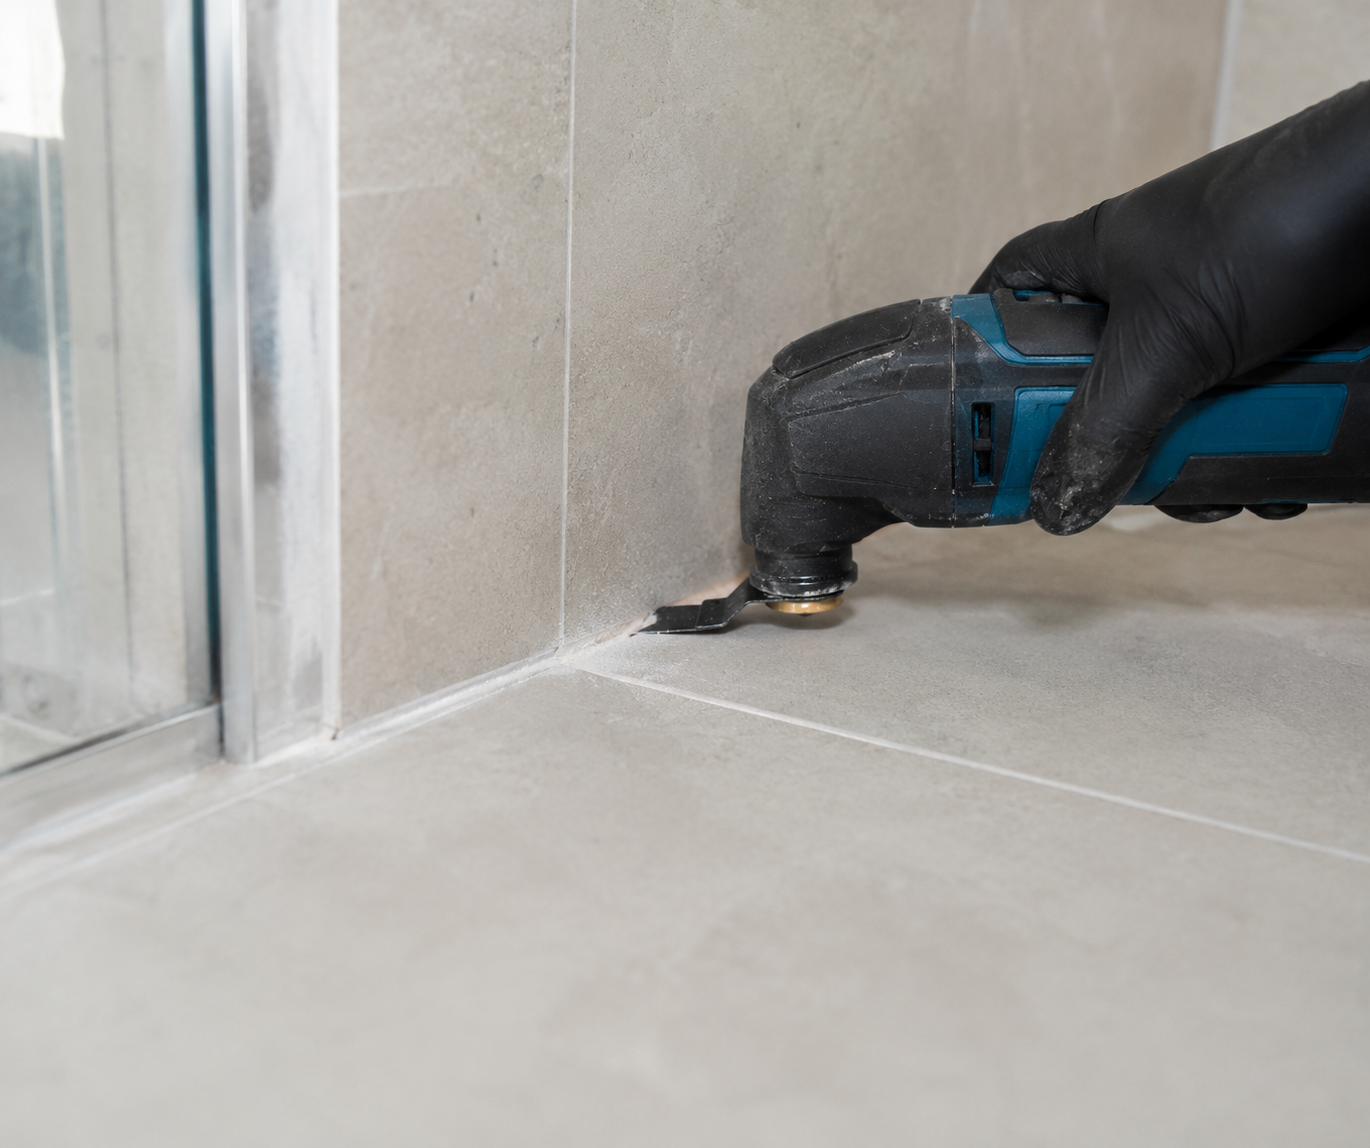
Once you’ve identified the affected areas, the failed grout needs to be removed.
The goal isn’t to remove every bit of grout in the bathroom. Focus on the sections that are cracked, loose or deteriorating. Work carefully to avoid chipping the tile edges, as damaged tiles can turn a simple grout repair into a much larger job.
After the damaged grout has been removed, clear away any dust and debris from the joints. Clean joints make it easier to see the condition of the surface underneath and prepare it for the next step.
Step 3: Clean the Joints Properly
This is the step many DIY repairs rush through.
Even after old grout has been removed, the joints often contain soap residue, mould spores and mineral deposits. New grout bonds best to a clean surface, so taking the time to clean the area thoroughly can improve the lifespan of the repair.
This stage can also reveal hidden issues. Occasionally, what appears to be a simple grout problem turns out to involve moisture trapped behind the tiles.
A clean surface creates a stronger foundation for the new grout and usually leads to a better finish.
Step 4: Choose the Right Replacement Grout
Not all grout performs the same way.
Traditional cement-based grout remains a common choice for many bathrooms. However, shower areas are exposed to constant moisture, which is why many homeowners now consider epoxy regrouting when repairs are needed.
Epoxy grout offers several advantages in wet areas:
- Better moisture resistance
- Improved stain resistance
- Greater durability
- Easier maintenance
The right option depends on the condition of the bathroom and the level of long-term protection you’re looking for.
Step 5: Apply the New Grout Carefully
Once the joints are prepared, the new grout can be applied.
The grout should be worked firmly into the joints so there are no gaps left behind. Uneven coverage may not be obvious immediately, but it can create weak points where moisture enters later.
Just as important is cleaning away excess grout from the tile surface without disturbing the grout inside the joints. Taking your time here usually produces a cleaner, more durable result.
Step 6: Allow the Grout to Cure
A repair isn’t finished the moment the grout has been applied.
One of the most common reasons grout repairs fail is that the area is used too soon. Although grout may appear dry on the surface, it often needs additional time to cure properly.
Always follow the recommended curing time before exposing the area to water. Waiting a little longer can make a significant difference to how well the repair performs over time.
When Should You Call a Professional for Grout Repair in Auckland?
Some repairs are straightforward. Others reveal bigger problems once work begins.
If the grout damage is widespread, tiles have become loose or water appears to be escaping behind tiled surfaces, professional assessment is often worthwhile. Replacing grout without addressing the underlying cause can result in the same problems returning months later.
In bathrooms where leaks, moisture issues or recurring grout failure are present, a more comprehensive repair approach may be needed.
A Proper Repair Today Can Prevent Bigger Problems Later
Bathroom grout does more than improve appearance. It helps protect tiled surfaces from moisture and contributes to the overall durability of the bathroom. By assessing the damage properly, cleaning the joints thoroughly and using the right replacement grout, you give the repair the best chance of lasting.
Whether the solution involves grout cleaning, regrouting or epoxy regrouting, addressing grout problems early is often simpler and more cost-effective than dealing with larger repairs later. If you’re looking for reliable grout repair Auckland services, a professional assessment can help determine the best course of action.
Not Sure Whether Your Grout Needs Cleaning or Regrouting?
Cracked grout, stubborn staining and recurring mould are often signs that your bathroom needs more than a quick clean. At GroutWork, we help Auckland homeowners restore tiled surfaces through grout cleaning, regrouting, epoxy regrouting, leak detection and waterproofing solutions. If you’re unsure what your bathroom needs, our team can assess the condition of the grout and recommend the most suitable solution.
FAQ
What are the common grouting mistakes?
Common mistakes include grouting over dirty joints, using the wrong grout type, failing to remove damaged grout properly and exposing fresh grout to water before it has cured.
What not to do when grouting?
Avoid applying new grout over loose or deteriorated grout. Skipping preparation work is one of the main reasons repairs fail prematurely.
What do professional cleaners use on grout?
Professional cleaners use specialised grout cleaning products and equipment designed to remove deep staining, mould and built-up residue without damaging tiles.
What not to use when cleaning grout?
Avoid highly abrasive tools and harsh chemicals that can weaken grout or damage surrounding tile surfaces.
Is epoxy regrouting worth it?
In shower areas and other wet environments, epoxy regrouting often provides better durability, moisture resistance and stain protection than traditional grout.
Can damaged grout cause leaks?
Yes. Cracked or missing grout can allow water to penetrate behind tiles, potentially contributing to leaks and moisture damage.
How long does bathroom grout last?
The lifespan of grout varies depending on moisture exposure, maintenance and the type of grout used. Well-maintained grout can last for many years.
Can grout cleaning improve old grout?
If the grout is still structurally sound, professional grout cleaning can significantly improve its appearance and remove years of built-up staining.
